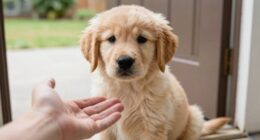
To draw a dog, start with a circle for its head and an oval for its body. Add triangular ears, and connect the head and body with curved lines for the neck. Use simple shapes like rectangles for legs and a curved tail. Next, refine details like almond-shaped eyes and a square nose. For shading, use HB pencils for light areas and 4B-6B for darker tones. Experiment with six shades to create realistic fur. Finally, practice different breeds to recognize unique traits. Stick around, and you'll discover more tips to enhance your dog-drawing skills!
Key Takeaways
- Start with basic shapes like circles and ovals to outline the dog's head and body proportions before adding details.
- Refine the dog's features by shaping the eyes, nose, and mouth to reflect the breed's personality and expression.
- Utilize shading techniques with varying pencil grades to create depth, focusing on light and shadow for realism.
- Apply at least six color shades to the fur, considering light sources and breed-specific markings for authenticity.
- Practice drawing different breeds regularly, emphasizing unique traits and anatomy to enhance your skills in capturing movement and posture.

Dyvicl Professional Drawing Sketching Pencil Set – 12 Pieces Drawing Pencils 10B, 8B, 6B, 5B, 4B, 3B, 2B, B, HB, 2H, 4H, 6H Graphite Pencils for Kids, Beginners, Pro Artists
Graphite Drawing Pencil Set – 12 pcs pre-sharpened professional quality graphite pencils (10B, 8B, 6B, 5B, 4B, 3B,…
As an affiliate, we earn on qualifying purchases.
As an affiliate, we earn on qualifying purchases.
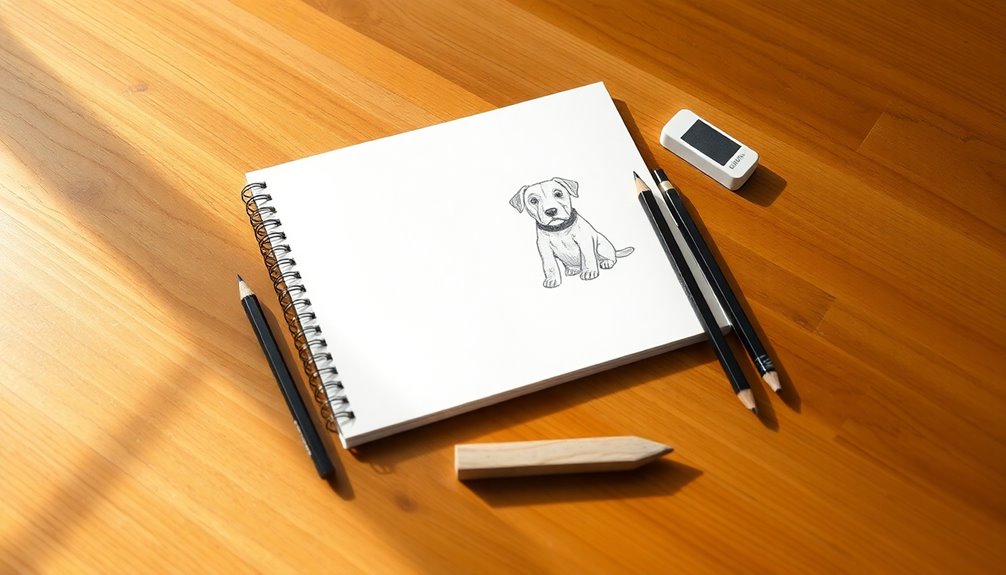
Basic Shapes for Dog Drawing

To create a solid foundation for your dog drawing, start with basic shapes that define its structure.
Begin by sketching a circle for the dog's head, which sets the proportions for the facial features. Below that, draw an oval shape to represent the dog's body, keeping it proportional to the head.
Next, add triangles on top of the head circle for the dog's ears, adjusting them based on the breed's characteristics. Connect the head and body with curved lines to form the neck.
For the legs, use simple shapes like rectangles or ovals, depending on the pose. Finally, outline the tail with a curved line, completing the basic shapes before you add details to your drawing.

Sketchbook: Awesome Dogs Friends Sketch Book for Drawing: Blank Sketch Pad for Drawing for Kids: Sketchpad for Drawing for Kids, Bleed Proof Art Sketch Book 8.5 x 11
As an affiliate, we earn on qualifying purchases.
As an affiliate, we earn on qualifying purchases.
Refining Dog Features

As you refine the dog's features, focus on capturing the unique expressions that bring your drawing to life. Start with almond-shaped eyes, angled slightly for personality. Add irises and pupils for detail. The nose should align with the lower half of the muzzle, using a wide square shape and round dots for nostrils. A curved line above the mouth defines the upper lip, while brows enhance expression. Adjust ear shapes based on breed; upright ears suggest alertness, while droopy ones indicate relaxation. Extend the neck to hint at the body, considering breed size for realism.
| Feature | Tips |
|---|---|
| Eyes | Almond-shaped, add details |
| Nose | Wide square shape, round dots |
| Ears | Adjust based on breed |

KALOUR 72 Count Colored Pencils for Adult Coloring Books, Soft Core,Ideal for Drawing Blending Shading,Color Pencils Set Gift for Adults Kids Beginners
【Color Pencil Set】: 72 pack vibrant color pencils.
As an affiliate, we earn on qualifying purchases.
As an affiliate, we earn on qualifying purchases.
Shading Techniques

Once you've refined the dog's features, shading techniques can add depth and dimension to your drawing.
Start with an HB pencil for light shading, creating smooth shifts in areas like the muzzle and neck. Use a blending stump to soften these shades.
For darker shading, switch to a 4B-6B pencil to emphasize the pupils, nose, and inside of the ears, enhancing realism.
Remember to reflect on the light source; apply darker tones on lower edges and lighter tones where the light hits the fur.
Experiment with different shading techniques, like hatching or cross-hatching, to depict fur texture and volume.
Don't forget to use an eraser to lift graphite for highlights around whiskers and the catch lights in the eyes.
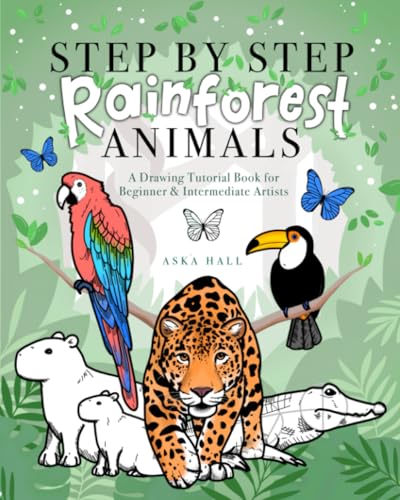
Step By Step Rainforest Animals: A Drawing Tutorial Book For Beginner & Intermediate Artists
As an affiliate, we earn on qualifying purchases.
As an affiliate, we earn on qualifying purchases.
Coloring Your Drawing

Coloring your dog drawing can truly bring it to life, and using at least six shades is key to achieving realistic depth and dimension in the fur.
Start by considering the light source; shadows will generally fall on the lower edges and areas not directly illuminated. Use lighter tones to highlight the muzzle, eyes, and cheeks, enhancing detail and vibrancy.
Don't forget to incorporate fur markings that reflect the unique characteristics of your dog breed, adding authenticity to your artwork.
Employ layering techniques to build up color, and be sure to blend colors effectively for smooth transitions. This approach won't only enhance the overall appearance but also give your drawing a more lifelike presence.
Practicing Different Breeds

To effectively capture the essence of different dog breeds in your drawings, focus on their distinct traits, such as head shape, ear style, and coat length.
Start by observing the unique characteristics of each breed, noting how these traits affect their basic shape. You can add depth to your work by practicing contour lines and crosshatching techniques to illustrate fur textures, like the smooth coat of a Greyhound versus the fluffy coat of a Pomeranian.
Regularly sketching different dog breeds will build your confidence and skill, allowing for more realistic action poses.
Studying canine anatomy will enhance your understanding of how breed differences influence posture and movement, ultimately improving your ability in drawing a dog effectively.
Frequently Asked Questions
How to Draw an Easy Dog Step by Step?
To draw an easy dog step by step, start with a simple circle for the head and an oval for the body.
Add basic shapes for the ears and a curved line for the tail.
Next, sketch the eyes, nose, and mouth to give your dog character.
Draw rounded paws and use quick strokes to indicate fur.
Finally, add personal touches like colors or accessories to make your dog uniquely yours!
Where Do You Start When Drawing a Dog?
When you start drawing a dog, begin with basic shapes to outline its structure. Draw a circle for the head and an oval for the body, establishing a solid foundation.
Next, decide on the ear shape based on the breed and sketch them on top of the head. Connect the head and body with simple lines for the neck and legs.
This approach helps you maintain proportions and create a realistic look.
How Do You Draw a Dog's Basic Shapes?
Did you know that there are over 340 dog breeds worldwide?
To draw a dog's basic shapes, start by sketching a large circle for the head, with an oval underneath for the body. Add smaller circles for the front legs and larger ovals for the back legs, keeping proportions in mind.
For the ears, use rounded triangles on top of the head. Finally, create an elongated shape for the snout, adjusting as needed.
How to Draw a Juicy Dog?
To draw a juicy dog, start by sketching a circular head with chubby cheeks and an elongated snout. Use rounded triangles for the ears, adjusting them based on whether the dog has floppy or upright ears.
Next, draw a plump oval body beneath the head and connect it with a thick neck. Add details like a broad nose, prominent jowls, and fluffy cheeks to enhance the juicy look, finishing up with texture and shading for depth.
Conclusion
In the end, drawing a dog isn't just about capturing its likeness; it's about embracing the loyalty and joy they symbolize in our lives. As you refine your skills, remember that each stroke reflects a bond, each shadow adds depth to your connection. Whether it's a playful pup or a wise old shepherd, every breed tells a story. So pick up your pencil, let your imagination roam, and create a masterpiece that celebrates the spirit of our furry friends.